
Time lapse
“Time waits for no man, but it will speed up for his camera”
Anonymous
taking it step by step
Broadly speaking, there are several steps/stages to follow in order to get some decent video from a time lapse trip and I will deal with these individually :-
- Planning the trip
- Preparing for the trip
- Setting up the equipment and taking the images
- Processing the images
- Rendering the images to video and adding music, title screens, etc.
- Posting end result to YouTube, Vimeo, social media, etc.
1. planning the trip
This may sound obvious but there are a few things to take into consideration such as ease of access to the area where you are shooting, public transport, weather, what you want to shoot (is moonlight going to be an issue?), foreground/background interest such as monuments, interesting rock formations, reservoirs, etc. All of these can have an impact on the end result.
I have found that these are two of the easiest tools for finding out information for areas where I’m planning on doing a time lapse shoot. I use YouTube to check if anybody else has done a similar shoot and see what results they’ve got, but also it is useful to see videos of the prospective area so you have an idea of areas of interest and things that might add more impact to your time lapse.
Using the computer I also check on transport availability and times as well as short and long range weather forecasts. There are many websites/apps for determining what phase the moon is at for the date that you are planning for a shoot so you can decide what type of time lapse you are going to do.
I usually start doing this a week or so before the planned trip

2. preparing for the trip
I have a basic set of equipment/supplies that I take on every time lapse trip and depending on what I’m shooting there are some optional extras.
- Sony A7Sii and A7iii cameras
- Samyang 12mm f2.8, 24mm f1.4 and 85mm f1.4 manual lenses
- 3 carbon fibre tripods (1 for supporting a lens ball)
- 2 Wireless intervalometers
- Extra batteries for cameras
- Head torch
- Dew heaters + battery packs
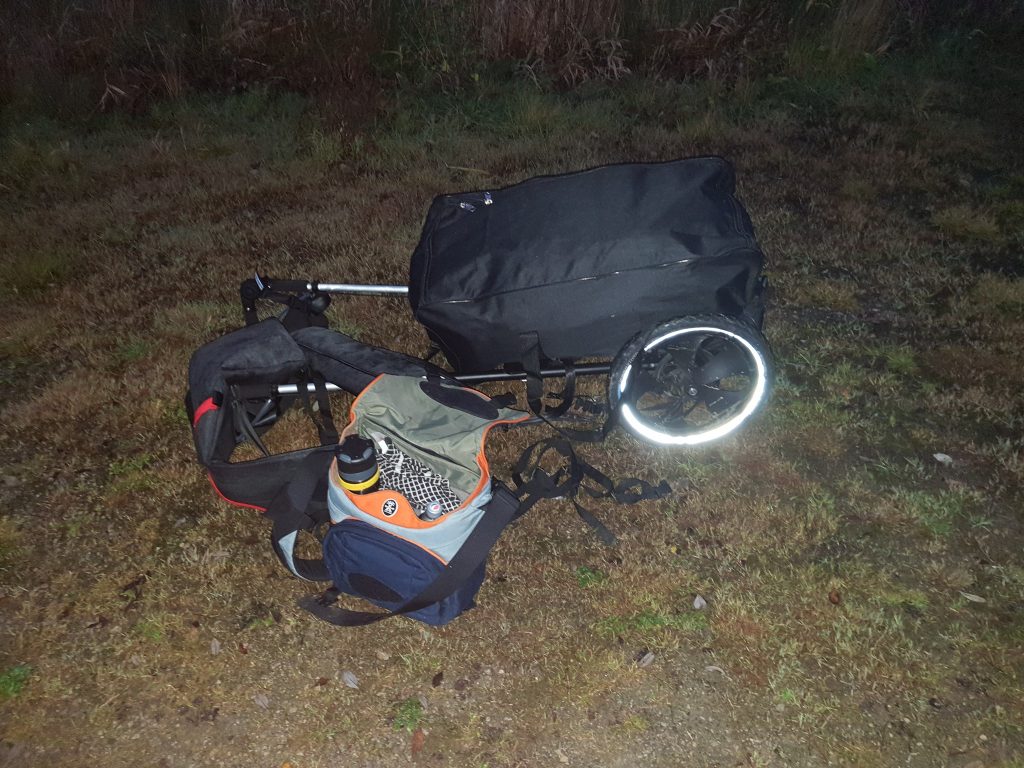
- Down suit (rated to minimum temperature of -50c)
- Thermal gloves
- Inflatable bed roll
- Plastic dust sheet
- Lens ball
- Flask of coffee
- Food and soft drinks
- Small bottle of whisky
- Mobile phone
- Mavic Air drone (optional)
- Motorised camera slider with pan/tilt head (optional)
- Timelapse +view “Holy Grail” intervalometer (optional)
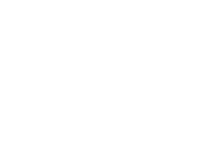
All of the above kit fits nicely into the holdall on my hiking trailer pictured here. I always charge all of the batteries the day before as some lithium ion batteries have a tendency to drain if left for a period of time. The down suit is in a compression bag until I get to the area where I’m shooting as it is too warm to wear when walking any distance. The other thing that I do is let someone know where I am and when I’m due back as some of the areas I go to there is no phone signal even for emergencies. I generally try and aim to get to the area before it gets dark especially if I’m shooting a “Holy Grail” time lapse.
3. setting up the equipment and taking the images
Depending on how cold it is I may get changed into my down suit first as there is nothing worse than trying to get your kit set up while you are shivering with the cold. The next thing to do is to get your tripods out and cameras set up with the lenses that you are going to use and put the dew heaters on. My advice regarding these is that you never know when the lenses may dew up so have the heaters on all the time because once they’ve dewed up it’s too late and you’ve lost valuable imaging time. When focusing I have already determined on my lenses where the infinity focus is which you can do during daytime hours by focusing on a very distant object, to stop the focus ring from moving during the night when I move the cameras between clips I use a bit of gaffer tape on the focus ring.
Deciding on the exposure length is going to depend on the focal length of the lens and I tend to follow the “500 rule” in that for a full frame camera like my Sony you divide 500 by the focal length of the lens and that gives you the maximum exposure time before you get star trailing so if I’m using the 12mm lens that’s 500/12 = 41.6 so I shoot at 40 seconds. For the 24mm lens it would be 20 seconds. If you are using a crop censor (APS-C) camera then you need to further divide this by the crop factor eg 1.6 so for an APS-C camera with a 12mm lens it would be 500/12/1.6 = 26 seconds. Once you have decided on the exposure time the shutter speed should be set to “bulb” as the intervalometer will be controlling the exposure time and number of exposures.
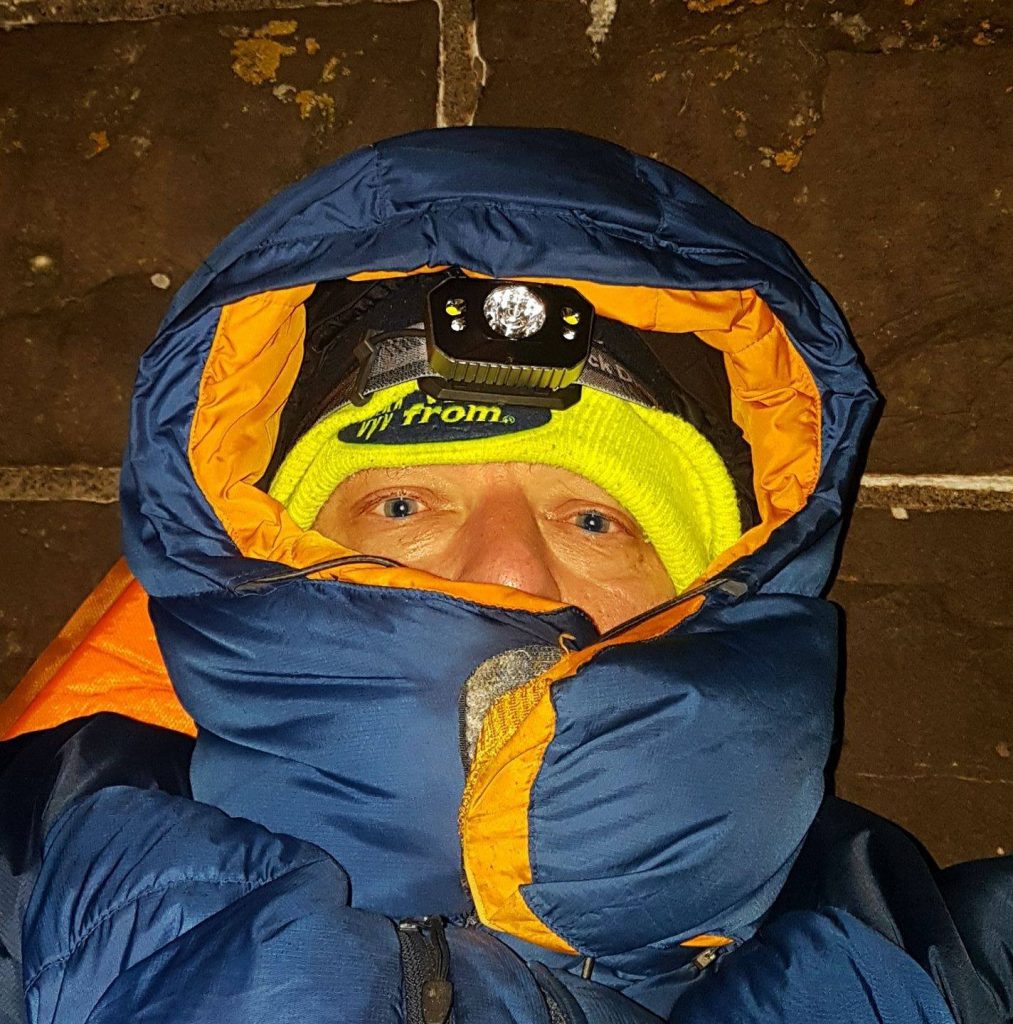
Everything on the camera and lens needs to be set to manual including focus, ISO, aperture, exposure, colour temperature, etc. Any noise reduction should be switched off as well as exposure preview otherwise this will eat up the battery and cause unwanted light. Also, for the very best results you must shoot in RAW and not jpeg, this makes the processing much easier and you get better results. The colour temperature should be set for cloudy or daytime as this can be adjusted in processing.
The most important thing is to get as much signal as possible so always use the longest exposure that you can without getting star trailing and the widest aperture possible then adjust the ISO until the bulk of the histogram is in the middle or to the right of the screen, each camera will have its optimum ISO, with the Sony cameras I have shot as high as 25,600 ISO and got good results.
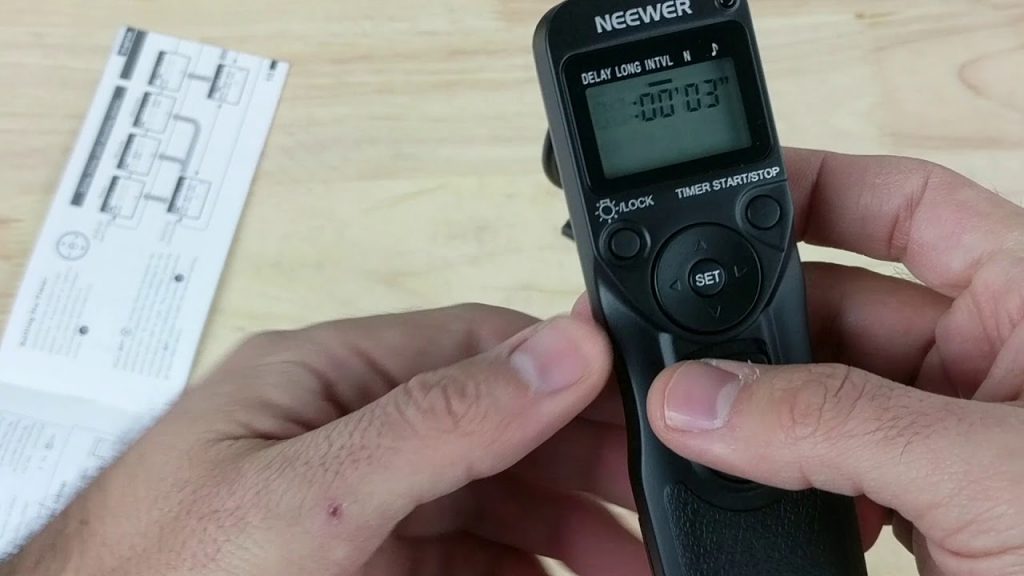
On the intervalometer you have settings marked Delay, Long, Intvl and N. The delay is how many seconds before the actual exposures start being taken after starting the intervalometer, Long is the exposure length, Intvl is the time in between each exposure and N is the number of exposures. The Delay doesn’t really matter but I routinely set it to 5 seconds, I then set the exposure time taking regard to the 500 rule, I usually set the interval to about 5 seconds, this allows the image to be transferred to the memory card before starting the next exposure, the N setting can be a bit confusing as most intervalometers only go up to 99 and more often than not you will need much more than this so set it to “0” and the intervalometer will carry on taking pictures until you switch it off. Once you’ve done this you can sit back and have a coffee and do a crossword, read a book or watch a movie on your tablet/phone, etc while the camera is doing it’s work.
Regarding how many exposures to take you want to aim for about 375-500 exposures per clip, this will give you a 15-20 second end video clip playing at 25 images per second. If you are doing a “Holy Grail” time lapse which can run for up to 16 hours and you end up with a clip well over 1.5 minutes you may need up to 2,000 images (more on this later).
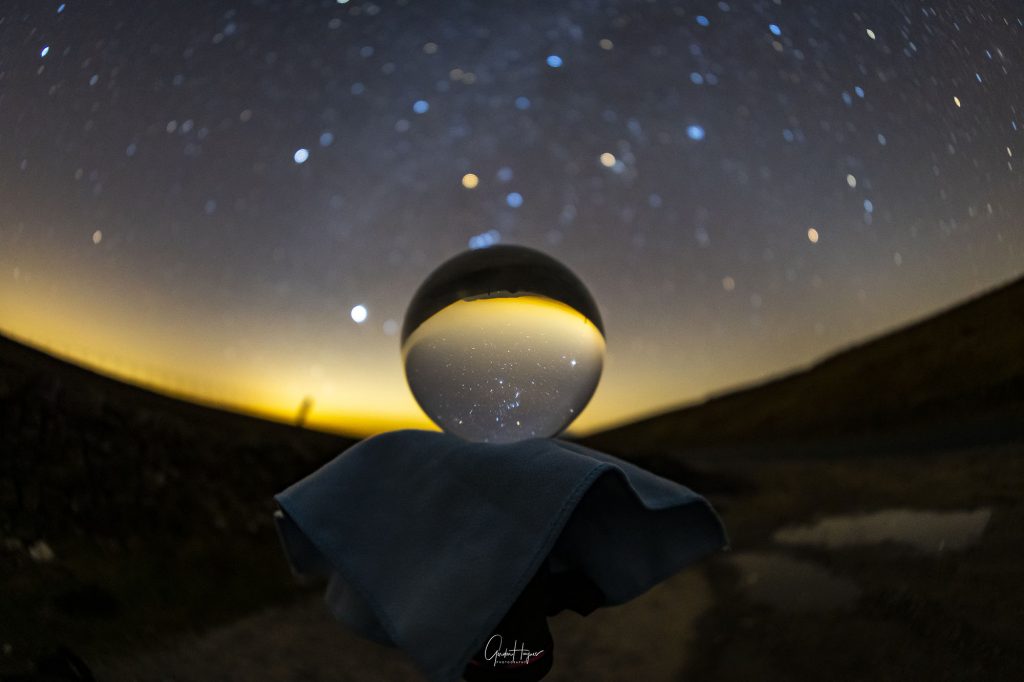
Each clip is going to take in excess of 3 hours+ to shoot, depending on what time of the night it is and how tired I am I may have a sleep on my bed roll, setting the alarm on my phone just before each clip is due to end. It is then a case of setting up the cameras somewhere else utilising areas of interest to add impact to your clip, puddles and reservoirs are great for this as when the water is calm (can be all the time as in a puddle or periodically with a reservoir) you get get some nice reflections of the stars in the water. If you are using a lens ball you focus on the image in the lens ball which throws the background out of focus which is very effective, also the image in the lens ball is upside down and reversed so it moves opposite to the sky, again it creates an interesting effect.


4. processing the images
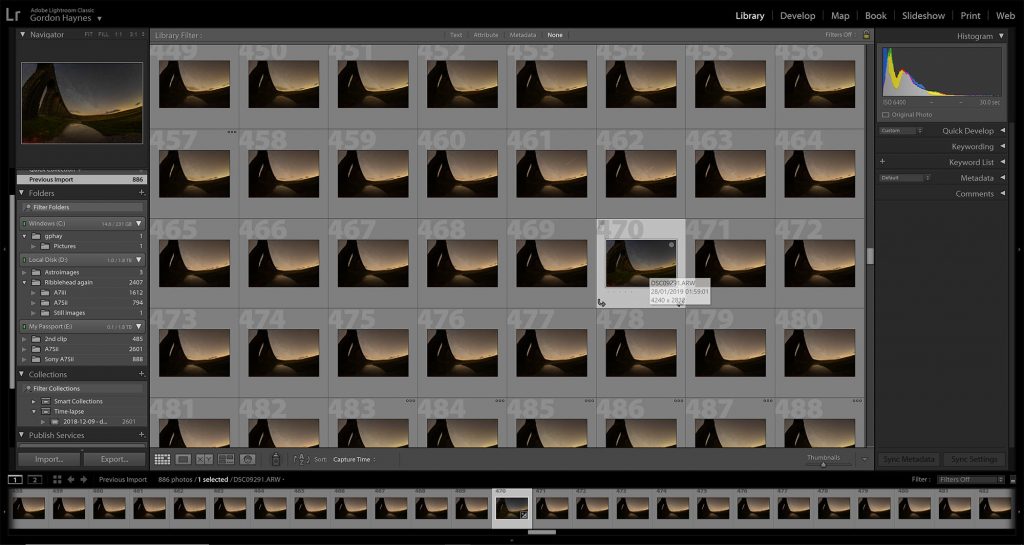
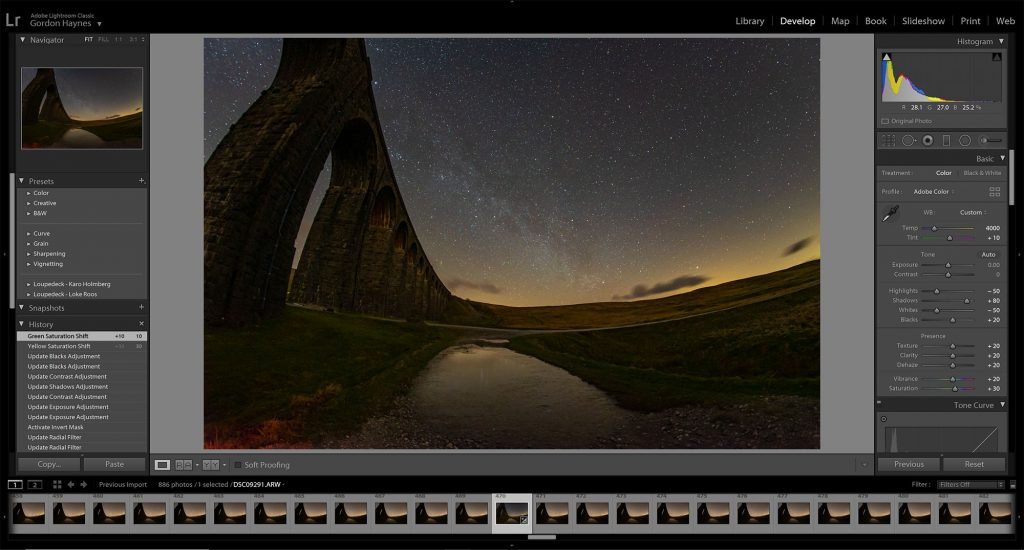
It is important that when processing images for a time lapse all the images have exactly the same processing workflow, therefore it is essential that you use a programme that has batch processing or copy and paste facilities for the processing workflow. I use Adobe Lightroom as it has a copy/paste facility so all you have to do is process one image from the several hundred in the clip sequence and when you are happy with it you just copy the workflow and paste it to all the other images. The top picture to the left shows the ‘library’ of images from a sequence and the one highlighted is the one that has been processed.
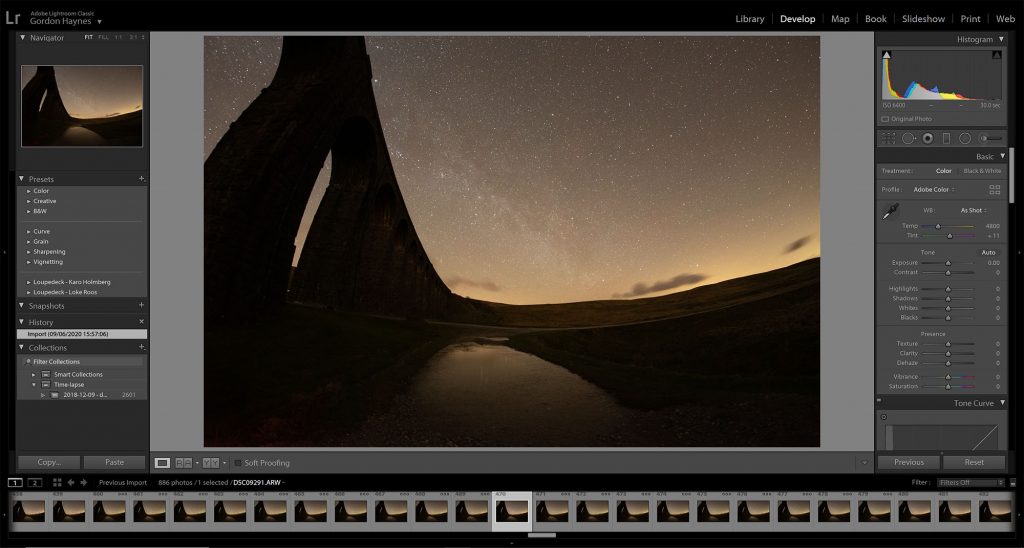
As mentioned earlier it is essential to shoot in RAW as this allows the most flexibility when processing and yields much better results than processing jpegs. For example, colour temperature can be adjusted with RAW but not on a jpeg. The disadvantage to shooting in RAW is that it requires much higher capacity memory cards. The middle picture on the left is a RAW image from a time lapse sequence that is about to be processed, as you can see the foreground looks a bit dark and the sky a bit bright but this is easy to correct. This was shot with a Sony A7Sii and a Samyang 12mm f2.8 fisheye lens with an exposure of 30 seconds at f2.8 and ISO 6400.
The actual processing is fairly simple and takes about 5 minutes and involves adjustments to :-
- Colour temperature
- Exposure
- Contrast
- Highlights
- Whites
- Shadows
- Blacks
- Texture
- Clarity
- Dehaze
- Vibrance
- Saturation
- Vignetting (not always needed)
- Noise reduction (not always needed
The amount of adjustments needed will depend on the image but should be aimed at bringing out the best in detail and enhancing what is already there.
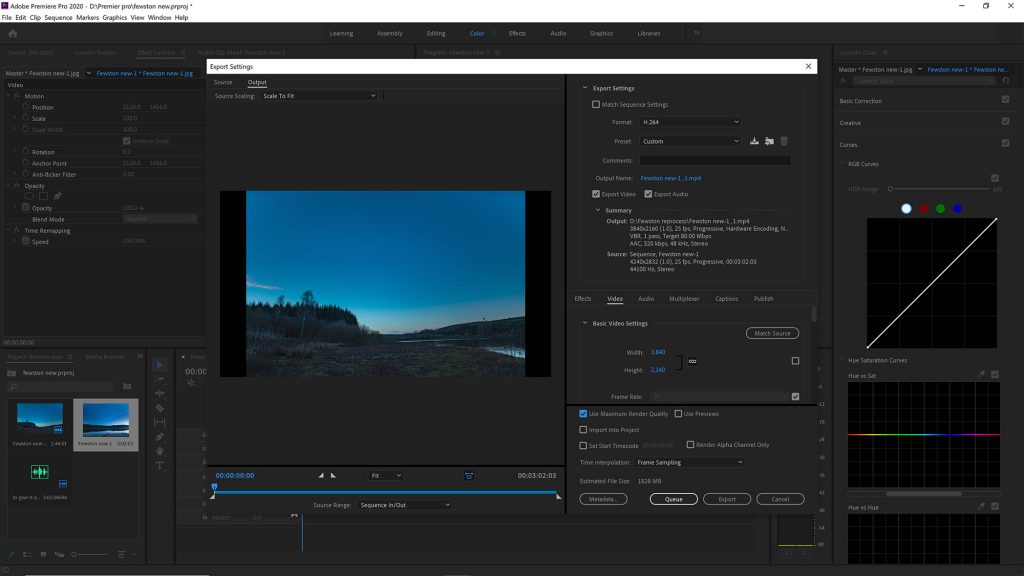
The final thing to in the processing stage is to export all the RAW files to jpeg ready to be rendered into a video. It is important to take note of the format that you are going to export the files to as the video rendering programme has to understand that the files are in a numerical sequence so the file name must be in the ‘custom name – sequence’ format. There are a few other settings but I tend to leave them at their default settings so I leave the image sizing as it is and have the jpeg quality set as maximum. Exporting takes a while as the programme could be converting over 2,000 images from RAW to jpeg.
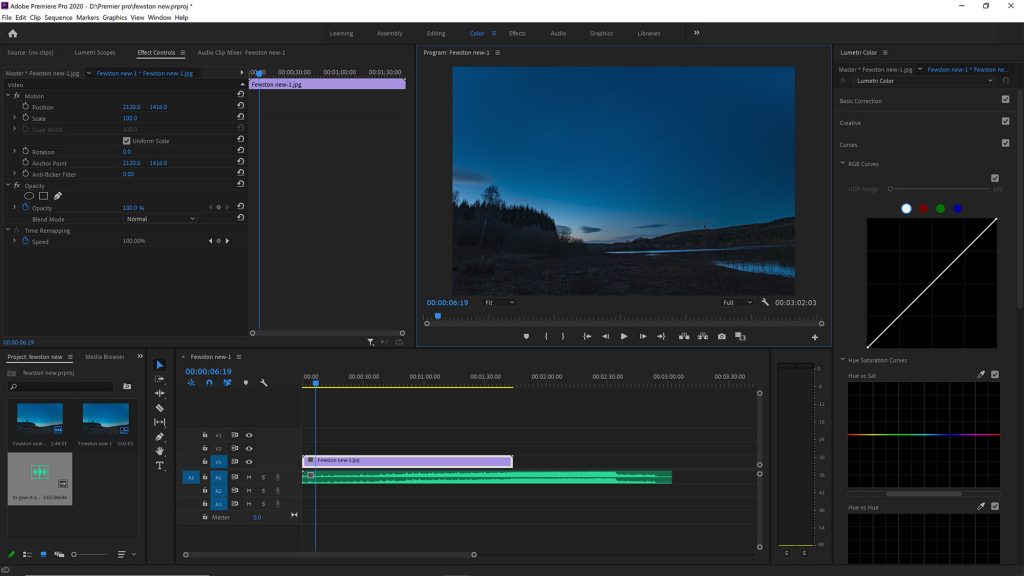
5. rendering the images to video and adding music, title screens, etc.
There are a variety of video rendering programmes available, some of them free but I prefer Adobe Premier Pro for its flexibility and ease of use. I have now created my own animated title screen which I use a programme called ‘Filmora 9’ to create and the static screens for credits, music information etc, I do in Adobe Photoshop. With Premier Pro it is easy to add extra clips , pictures, music tracks, etc to create a final movie, you can play it within the programme before rendering it all into one movie. I get the music from a website that I subscribe to called Artlist.IO where the music is royalty and copyright free so it can be used for videos and posted to social media without any problem, this website has a really useful filtering facility for things such as track length, genre, the type of movie you want the music for, etc.
I always render my time lapse videos to the highest quality 4K that it offers, it is possible to render to 8K if you have the necessary pixel count but there are still very limited means available for viewing 8K at the moment. Typically the rendering doesn’t actually take that long, one project I was working on that covered a decade of astrophotography which was a 27 minute video took about an hour to render.
6. posting end result to youtube, vimeo, social media, etc
I use YouTube for posting my videos as it is free and you can upload in 4K, it also has by far the largest viewer base of any video hosting website. Vimeo tends to be used more by professionals, businesses and people who specialise but I believe that it is paid subscription based. I also post to Facebook and Twitter but in both cases I tend to put a link to the 4K YouTube video. You can upload the video directly to Facebook but their compression algorithms tend to make a mess of the quality. I also post a link to the 4K video when putting posts in forums as they tend to have a very low limit on size of attachments