
animated star trails
“The camera shows that we’re just going around in circles”
Anonymous
add impact to your star trails by animating them
This is actually a fairly simple thing to do, but there are a couple of things to remember when taking the images in the first place. All the star trail images and animated star trails that I have taken have been from existing time lapse sequences that I have taken. My primary aim is to shoot time lapse and I then use the same data to create star trails and animated star trails as well as single shot nightscape images. When I shoot time lapse I sometimes use a motorised camera slider to create a camera movement during the time lapse sequence, it does this using what is called “shoot-move-shoot” so while an exposure is being taken the camera is still, it only moves in between each exposure. Because of this, in the final footage the foreground/background appear to move as well as the night sky. This type of footage is no good for creating star trails as the camera must be stationary. As with all of my time lapse footage the RAW data is first processed in Adobe Lightroom and then exported as a sequence of jpegs. This data can then be rendered to a video clip for the time lapse footage. But, it can have additional processing in a free programme called Starstax which will create another sequence of jpegs for creating an animated star trail.
Starstax
The first thing to do is to load all the jpegs that you have exported from Lightroom into Starstax. Once you've done this you then go to the blending mode choices and select either lighten, comet tail or gap fill.
Now here comes the two important bits, you then select for the programme to save each image after it blends and where you have the choice of how to save make sure it is set to sequence and put a start number in.
What Starstax does is to stack one image on top of another but one at a time by saving after each blend you effectively get 1, 1+2, 1+2+3, 1+2+3+4, and so on.
You will need about 300 to 500 images and the end result will be that the first image has no trailing and the last image has full trailing, it is now ready for rendering
Adobe Premier Pro
The jpegs that have been processed in Starstax can now be rendered to a video clip in any video rendering programme such as Premier Pro, Microsoft Movie Maker, Time Lapse Tool, etc.
This is done in the same way as the time lapse sequences and you now have an animated star trail that shows the trail gradually building up. As a typical time lapse video is relatively short I tend to also do two or three animated star trails to supplement the time lapse footage to make the end video a bit longer
static and animated
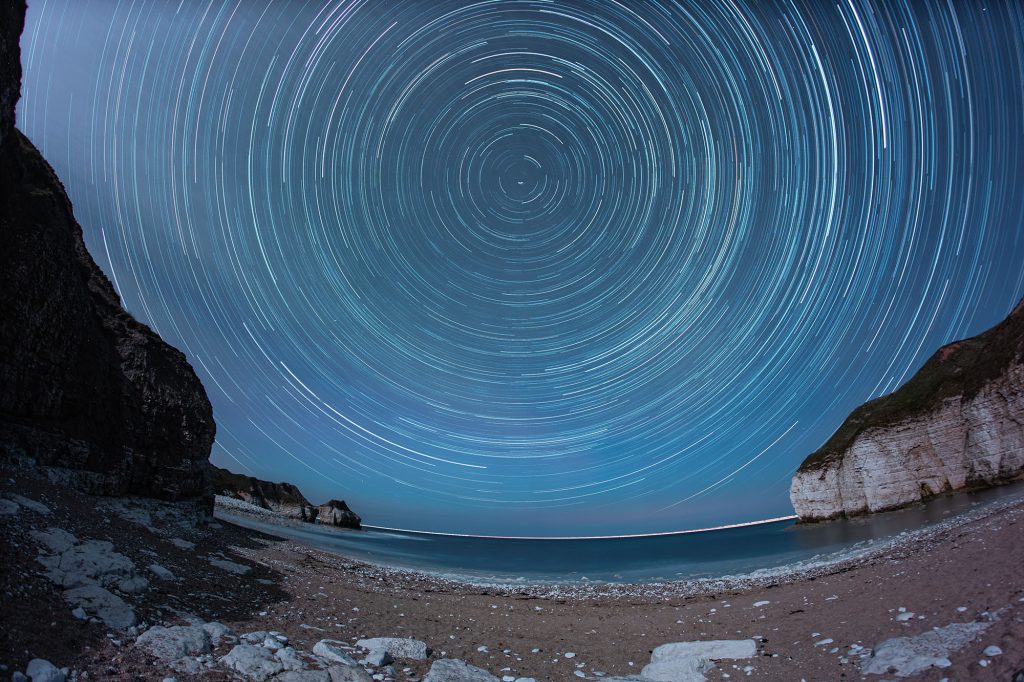
The examples here are both done from the same RAW data that I shot when I spent a night out shooting time lapse at Thornwick Bay on the North Yorkshire Coast and both were processed in Starstax with the data being rendered into a video in Premier Pro
The example above is done using the ‘comet tail’ function in Starstax when processing the jpegs before rendering them to video in Premier Pro.